
Welcome back to the fifth installment of this six part series on Sciatica. If you have read the previous four blog posts, it should be pretty apparent by now that Sciatica is this murky diagnosis that can come from the spine, but not always. There are lots of other players who can produce similar symptoms like tension on nerves, trigger points (spoiler alert: that is the last blog post on sciatica) or the Pirifomis. It is the latter most structure that we are going to cover today. This muscle has developed a lot of infamy over the years in the physical therapy world. In this post, I will explain why the Piriformis gets such a bad rap, what the symptoms of this particular Sciatica look like and of course, how to treat it on your own. So without further ado, let’s get started.
The Piriformis is a small, slender muscle that attaches to the front of the Sacrum and connects to the Greater Trochanter (that bone you feel on the side of your hip). Its role is to help stabilize the hip as well as produce some external rotation and abduction depending on the position of the hip. The reason this muscle always gets the blame for Sciatica is because the Sciatic Nerve courses right underneath it before descending down the back of the hip and thigh. It seems like an obvious target; just like in a homicide case, you always start with the people closest to the victim. The thought here is if the Piriformis becomes too tight it can create undue pressure on that poor Sciatic Nerve which leads to the classic pain in the hip and leg symptoms.
While pain in the hip and thigh are the classic symptoms there are some other clues associated with this specific form of Sciatica that you should be aware of. In this case, pain increases in the buttock with walking activities, while sitting with the knee bent on the painful side may help decrease the pain. In severe circumstances, pain will radiate down the leg as mentioned previously.
The tests for this specific pathology are either the straight leg raise or the FAIR test. The straight leg raise is performed by having the patient lie down face up while the practitioner raises the straightened leg on the painful side, up towards the ceiling. Reproduction of symptoms is positive. The FAIR test is when the clinician lies the patient down face up and takes the painful leg in less than 90 degrees of flexion, abduction and internal rotation with provocation of symptoms being positive.
If all of this information up to this point sounds like you, then read on to learn how to help alleviate your pain now.
There are three different ways to stretch the piriformis out depending on how painful and flexible you are. I will describe all three from easiest to most difficult. You should make it your objective if feasible, to work your way through this progression. As your flexibility increases you should see an improvement in your symptoms. It is important to note that when you are acutely painful, this stretch might hurt a little bit more when starting. That is OK, you just need to proceed with caution and go slow. After a few minutes of stretching, you should feel the tissues let go and your pain decrease. If you feel like your symptoms are getting progressively worse, STOP!!! It may be that you have not diagnosed yourself correctly and need to either reread these posts or better yet, see a qualified practitioner. That being said, let’s begin.
- Lie down face up and bend the knee of the non-painful side up to approximately 90 degrees. Cross the ankle of the painful leg over to the opposite knee. Now, lace your hands around the back of the thigh of the non-painful side and slowly pull you thigh towards your chest. Shoot for at least 30 seconds and work your way up to a minute. Once you are getting three minutes easily, proceed to the next stretch.
- Lie on your back and bend the hip of the painful side up to 90 degrees. Now turn your foot in like you were going to tie your shoe laces. With one hand grab the ankle and with the other grab your knee. Your foot on the painful leg should be approximately over the opposite hip with your knee bent to approximately 90 degrees. Now gently pull the knee of the painful leg across your waist towards the opposite shoulder. Play with the angle of the stretch. Sometimes the knee needs to be angled either higher or lower in order to find the sweet spot. Once you found this spot, hold for 30 seconds and work your way up to 60 seconds. Once you can easily hit 3-5 minutes of this stretch proceed to the last one.
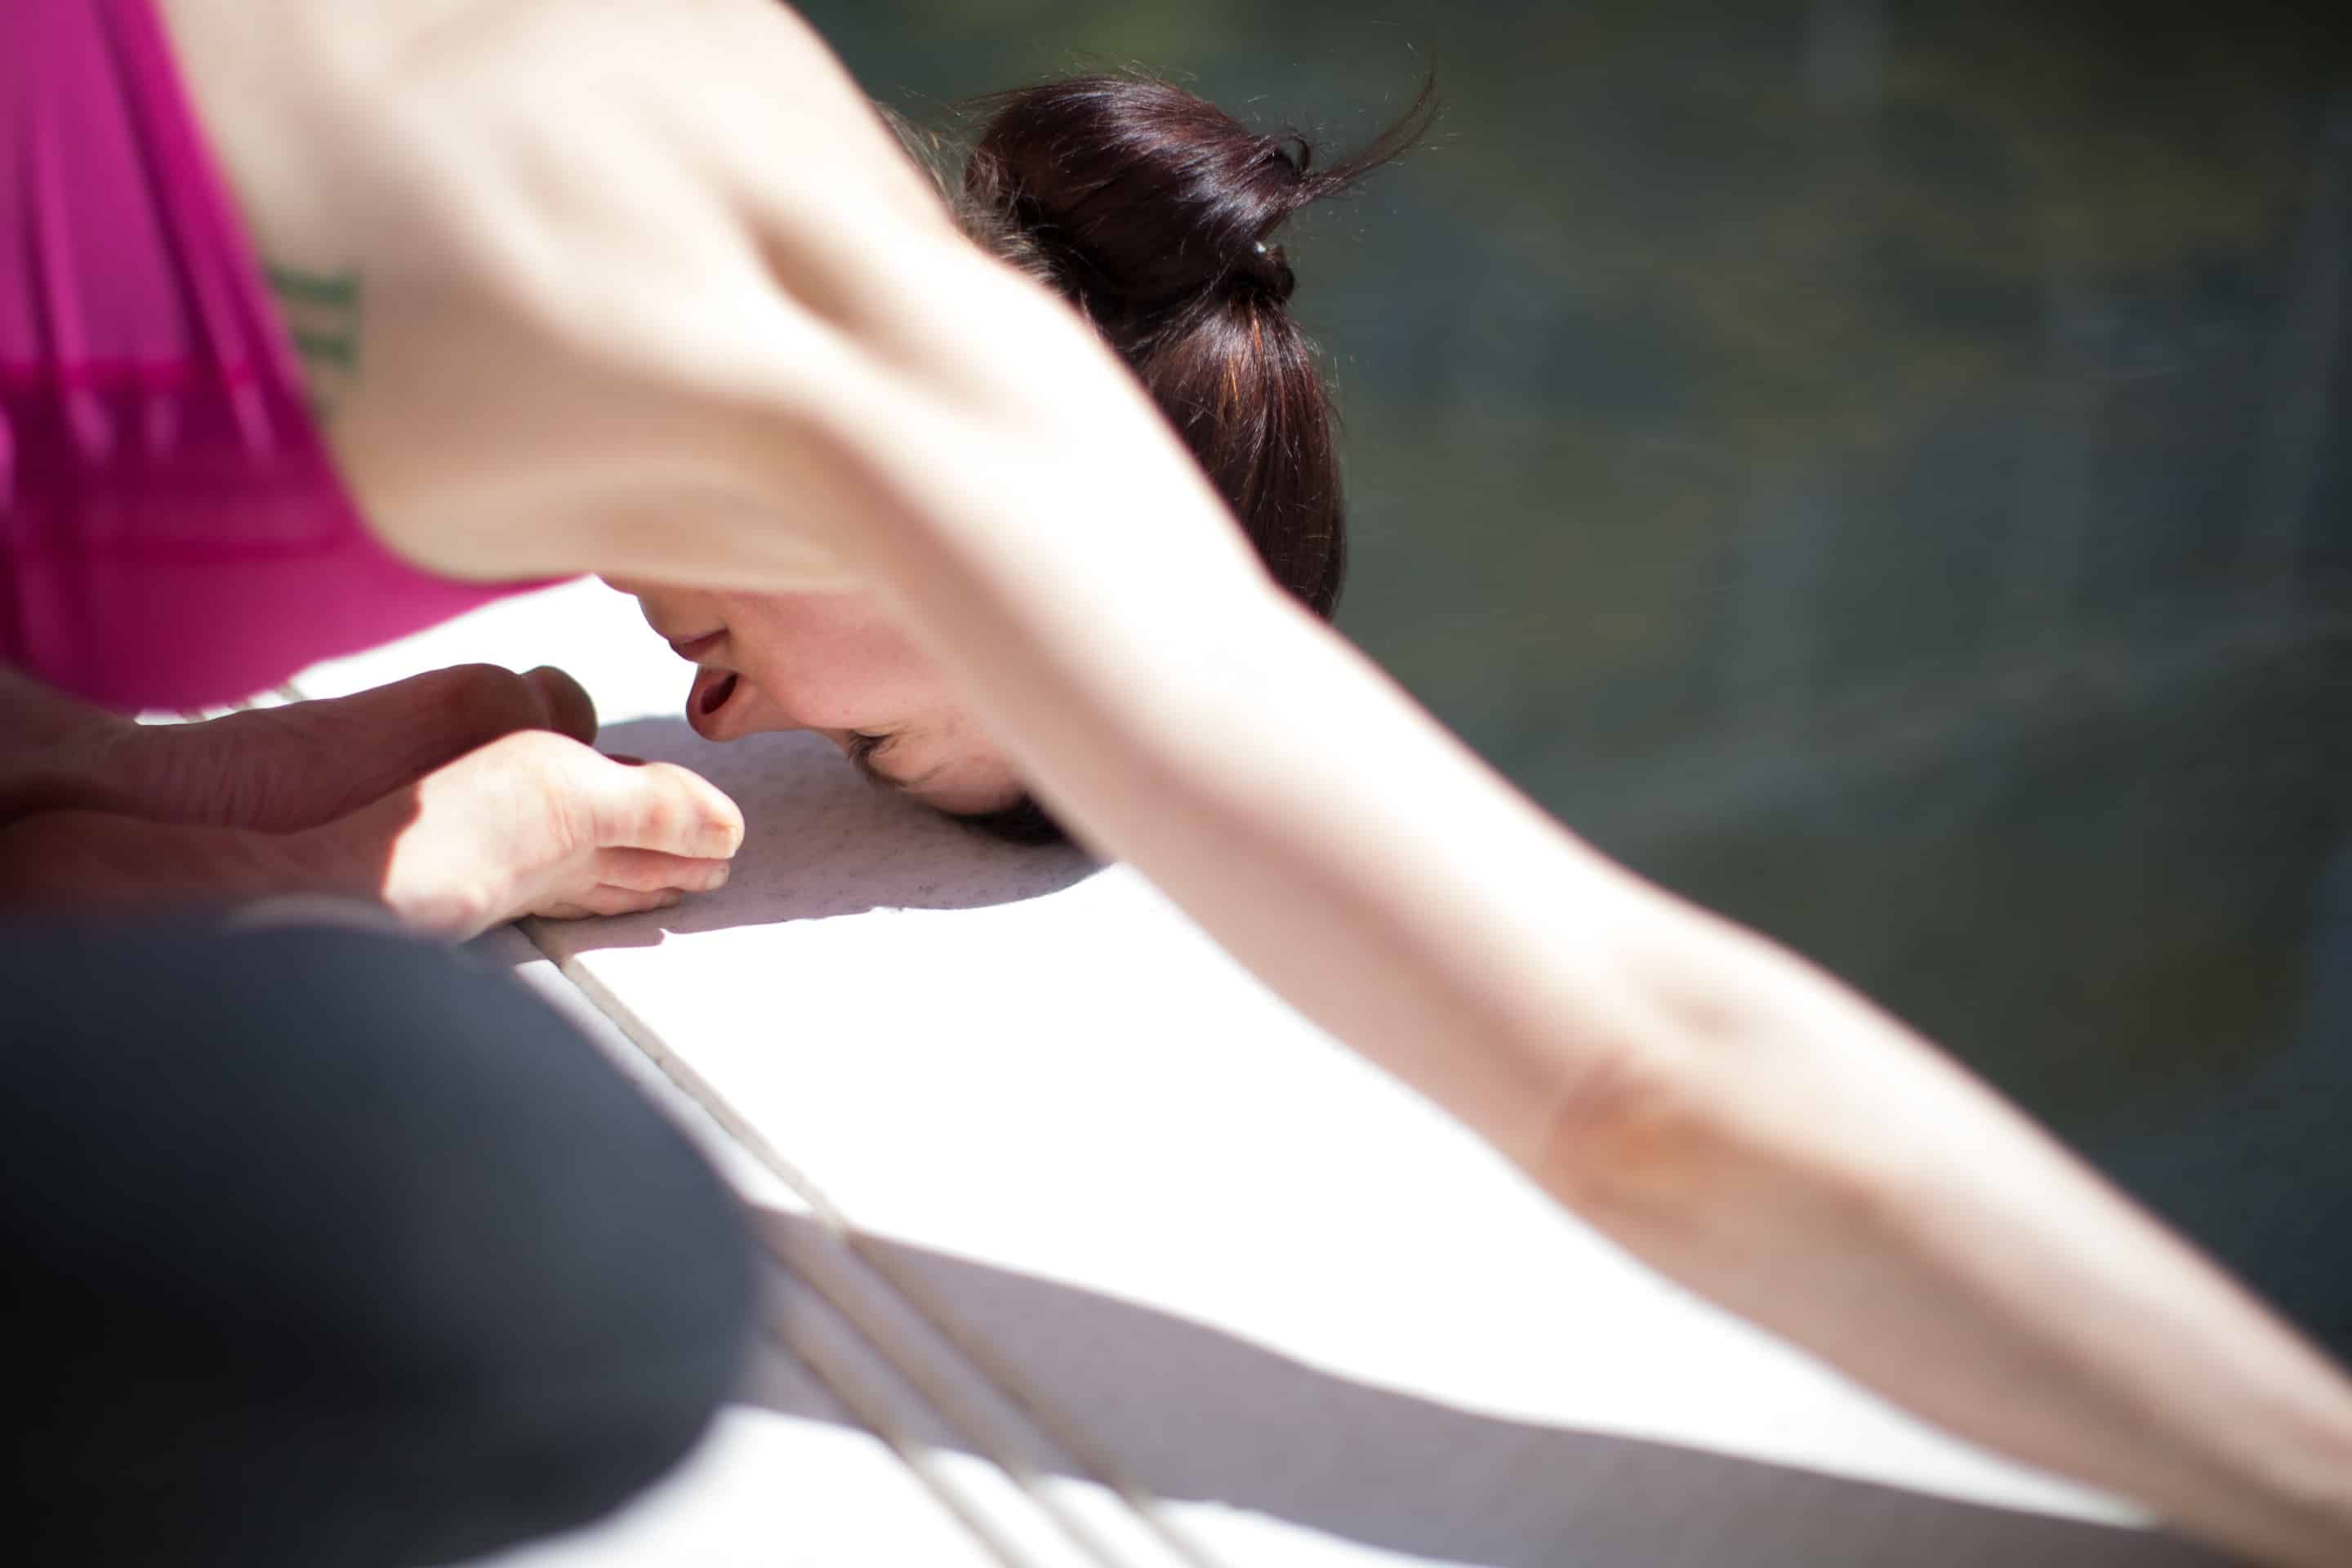
- In the yoga world, pigeon pose is well known. If you aren’t a part of this world, don’t worry. Sitting on the floor, take your painful leg and cross it in front of you like you did in stretches one and two. With your body perpendicular to the floor, put your non-painful leg straight behind you. Now very slowly, lean your head and body forwards the floor. Do you see how the closer you get to the floor, the greater the stretch becomes? Hold for 30 seconds and work your way up to 60 seconds for 3-5 minutes.
So there is your stretching progression. If you did your homework and your symptoms and tests align with what was discussed above, you should hit a home run when you do these stretches. As always, if you have any questions or concerns about your condition, please feel free to call me, I’m here to help. My personal cell phone number is 479-402-9400.


